Work Clothes

I've been taking part this month in the #MarchMeetTheMaker tag on Instagram started by Joanne Hawker. It's been a lot of fun, and super helpful when I can't think of anything to post. *smiley sweat emoji*

For Day 15 "Work Clothes" I made a little video out of it. I love video editing! This one was relatively simple, but I love doing it. I also *have* been trying to vlog but I just can't bring myself to edit and post footage of my face and voice. Ah well. I'll keep trying and maybe you'll see my moving & talking mug soon.

Anyway, here are some of the things I wear when I'm working from home! Pretty sure my entire wardrobe consists entirely of comfortable things to wear when I work from home, and I'm juuust fine with that.

Here's where everything is from, starting from the top left:

  • Chambray Shirt: Uniqlo (old)
  • T-Shirt: J. Crew Factory (old)
  • Houndstooth Sweater: Gap (old)
  • Joggers: Uniqlo (old)
  • Jeans: Levi's
  • Leggings: Express (old)

I'm a tad bit embarrassed about this list as I've been trying to shop a little more cruelty-free lately. True Cost really got to me. But almost everything on this list is 3+ years old and has been used and loved. Are there any cruelty-free and/or fair trade brands brands that you've been loving lately? I'm a bit of a newbie to the whole scene, but I would love to be better with my consumer habits! Let me know in the comments.

Current Art Supplies (Updated March 2017)

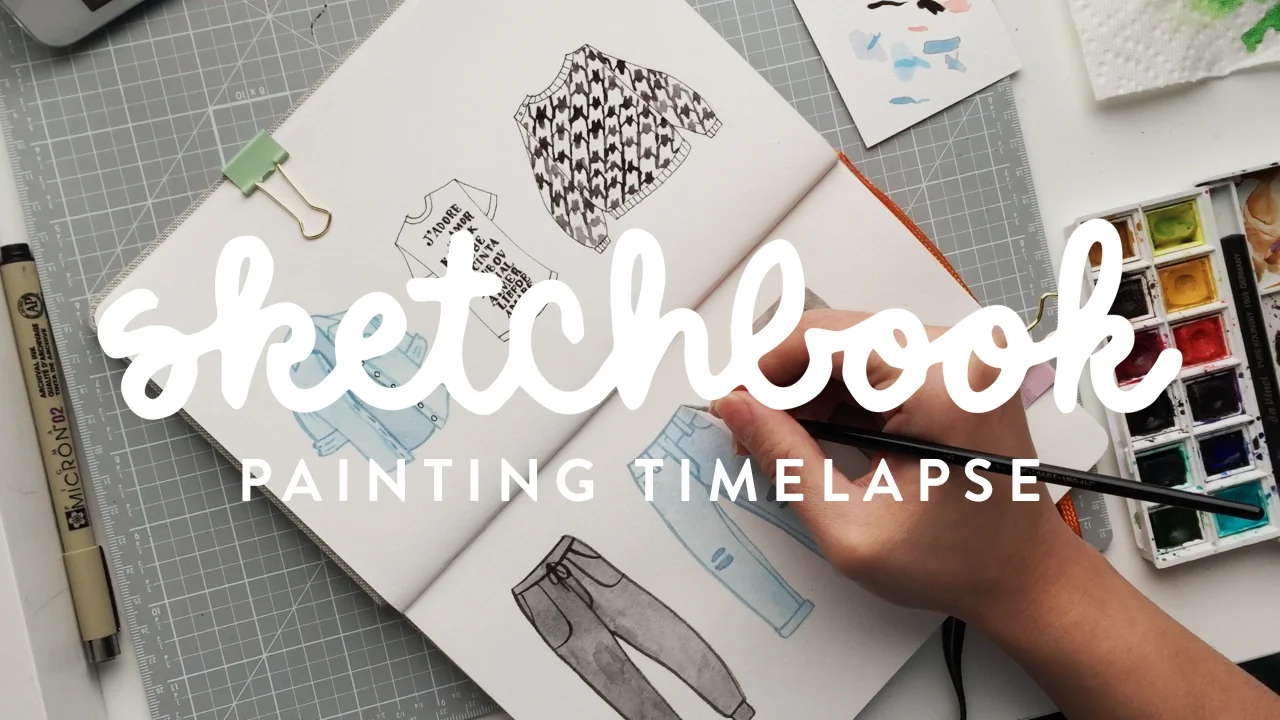
It's taken me a while to figure out my regular art supplies roster (and I'm still figuring it out as I go along) but I think I've started to clearly reach for some things more than others. Here is that list of things!

Macbook Pro 13" (link)

What would I do without my computer? Seriously, what would I do. I've had this mid-2012 model since late 2012 and it has served me well. In 2015 I replaced the hard drive with a solid state model and it's like I got a new computer! I plug it into a Mac cinema display that I got for cheap from an office's moving sale.

I use my computer for nearly everything related to my business: scanning, photo-editing, running my online shop. The list is endless. The one thing I DON'T do with it (yet) is digital drawing/painting. I do also have a drawing tablet (more below), but I typically use it as my mouse and to letter the occasional words. I do want to get into more digital drawing but I just haven't gotten the hang of it yet. I'm convinced that it would be easier if I had a Cintiq or iPad Pro. Gotta save up!

Intuos Pro Wacom Tablet (Medium size) (Link)

I love tablets. To me, they are more ergonomic and efficient than a mouse, but I might just be biased. As mentioned above, I don't use it to digitally paint, mainly because I haven't put the effort in to practicing (yet). But I do use it for photo-editing and a bit of lettering, and for everyday clicking (it's what I use instead of a trackpad or mouse). I got this one used from my friend for $50 last year. My last Wacom tablet was ALSO was bought used. They are expensive tools, but I've had luck with my used purchases!

Pens & Pencils

  • Muji Mechanical Pencil: Just a regular ol' mechanical pencil. I do like the lead in this, however. And I primarily use a kneaded eraser in conjunction with it.
  • Micron Pens: For those little pen touches I tend to do in my paintings.
  • Pentel Pocket Brush Pen: Favorite pen for sketching. 2nd favorite pen for lettering. I do like the broad strokes it can make, but I don't have the hang of the softness of the bristles yet.
  • Kuretake Disposable Pocket Brush Pen: My favorite pen for lettering! I also use it for filling in large areas of black in some of my illustrations.

Watercolors

Winsor & Newton Cotman Water Colour Sketchers Pocket Box that I replaced with some professional-grade watercolor pans. To me, it's the perfect size for working at home and on the go. I also have the Sakura Koi 24-Pan watercolor set, but it's a little too many colors for me (but a great option for beginners). I like to keep my color palettes concise. I do use the detachable palette that's included as my main wc palette.

Brushes

Winsor Newton Series 7 brushes sizes 0, 1, 2, 3, 4. Mostly I just use 1, 2, 3. These brushes are pricey and I actually got them as a Christmas gift in a set. But I think they are totally worth it! They just keep such a nice shape and hold a ton of water for their tiny sizes. You just have to take really good care of them and they will last forever. I also use a Da Vinci Maestro travel brush (size 3) in my W&N pocket box when I'm on-the-go.

Gouache

I started with this set of Winsor & Newton gouache paints and added a few on as I went (same brand). I also have Opera Rose and Lilac paints from Holbein. Don't have much of an opinion on them as I'm not so fluent in gouache, but they have been working for me!


As of March 2017, these are the things that I've been using pretty regularly. I'll try to update this list quarterly (bi-annually?) or whenever I sense a shift in my ways. Hope this helped some of you!

How I Make Patterns

I made this pattern a couple of weeks ago and I thought I'd walk you through my pattern-making process a bit! It's not a full-blown tutorial as I tend to forget to document my progress, but more of an overview.

This YoutTube tutorial by Beret Nice is a very good reference on how to make patterns by hand (minus the whole stitch-it-together-on-your-phone thing which is actually really cool!). It's very close to how I do mine.

Also want to note that my process is a bit tedious and roundabout and you might think why is she doing it this way?! but I've accepted that it's the way I like to work best. If you have any other tips please share!

After the drawing is complete

After the drawing is complete

First I start with a pencil drawing on a square. It's kind of tricky to explain but the YouTube tutorial mentioned above explains/shows this better than I do here. Before I cut it up like in the picture I start with the square (in this case 5x5") and draw all of my elements in the middle of the square. You can make it as big as you like as long as you don't touch the edges.

Then, you have to muster up the courage to cut through the work you've been doing the past hour and slice the drawing into four equal parts. Then you do a little dance with the paper (metaphorically) and switch the left pieces with the right and then the top pieces with the bottom. Carefully flip all of the pieces over and tap them together on the back.

Flip the paper back over and fill in the middle with more art. And now you technically have a repeating pattern square! Go ahead and scan it in.

Note: I inked some of the more delicate lines of the pattern so the showed up better, really for my own reference.

Note: I inked some of the more delicate lines of the pattern so the showed up better, really for my own reference.

I bring it into Photoshop and hit Edit -> Definite Pattern. I fill in the pattern in a new document. Now, it's not perfect, but you can see it definitely repeats.

So THEN I take the original square and bring it into Illustrator where I trace and color the elements and add a little texture. I then take those vector images and make a pattern in Illustrator similarly to how this person does it.

Told you my process was a little tedious, but it works for me! Sorry it's so glossed over. Next time, I'll do a much more detailed tutorial on how I make my patterns but I thought it might be good for now to do an overview. :) Happy patterning!